Choosing paint that stands up to moisture is crucial, especially in areas like bathrooms and kitchens. The wrong paint can lead to peeling, cracking, mold, and mildew, requiring costly repairs and repainting. This thorough guide will walk you through selecting the optimal paint for moisture-prone environments, ensuring a beautiful and long-lasting finish. We will cover selecting the right type of paint, preparing the surface correctly, and applying the paint for optimal outcomes. Let’s dive in and learn how to protect your walls from moisture damage.
Understanding the Challenges of Moisture
The Impact of Moisture on Paint
Moisture is the enemy of paint. Exposure to excessive moisture, whether from humidity, condensation, or leaks, can cause paint to fail prematurely. This can manifest in several ways: peeling, cracking, blistering, and mold or mildew growth. These problems not only compromise the aesthetic appeal of your walls but can also lead to structural damage if left unchecked. The type of paint used plays a key function. Cheap paints, lacking sufficient binding agents or moisture-resistant properties, are particularly vulnerable. They may appear to be a budget-friendly option initially, but the outcomeing repair costs often outweigh the savings. This is especially true in high-moisture areas such as bathrooms, kitchens, laundry rooms, and basements. The choice of paint impacts more than just the look of the room; it directly affects the longevity and health of the structure. In damp conditions, mold and mildew can thrive, leading to health problems such as respiratory issues. That’s why it’s crucial to carefully consider the paint’s resistance to moisture and fungi.
selecting the Right Paint Type for Moisture Resistance
The Importance of Paint Formulation
The key to choosing paint that stands up to moisture lies in understanding paint formulations. Not all paints are created equal. Some are specifically designed to withstand moisture, humidity, and even submersion. Latex paints, due to their water-based nature, are generally a good starting point for moist environments. However, not all latex paints are the same; look for paints specifically industryed as moisture-resistant or mildew-resistant. Oil-based paints offer superior durability and water resistance, making them suitable for exceptionally humid areas, but they require more thorough preparation and cleanup. Alkyd paints also offer good moisture resistance and are a more environmentally friendly option than traditional oil-based paints. They dry faster than oil-based paints and have a longer lifespan. Consider the specific needs of your environment; a high-moisture bathroom needs a higher level of protection than a slightly damp hallway. Always check the label for specific claims regarding moisture and mildew resistance. Choosing paint solely based on color or price is not advisable in damp areas. The cost of repainting due to premature failure will likely exceed the price difference of a higher-quality moisture-resistant paint. Remember, prevention is far more cost-effective than cure.
Preparing the Surface for Optimal Paint Adhesion
Proper Surface Preparation is Key
Even the optimal paint will fail if applied to an improperly prepared surface. In moisture-prone areas, proper surface preparation is paramount. Before you begin painting, thoroughly clean the surface to remove any dirt, grease, mildew, or loose paint. For mildew, a solution of bleach and water may be necessary; always test this on a small inconspicuous area first. After cleaning, allow the surface to dry completely. Repair any cracks, holes, or damage before painting. Use a primer specifically formulated for moisture-prone areas. This creates a barrier that prevents moisture from penetrating the paint layer and promoting the growth of mold and mildew. A primer is an investment that greatly extends the life of your paint job. In situations where there’s existing dampness or water damage, allow ample drying time before priming and painting; otherwise, the moisture will get trapped underneath the paint, causing it to peel or blister, undermining your efforts. Don’t rush this step; it’s crucial for the long-term achievement of the project. This seemingly small step in preperation makes a huge difference in overall protection from moisture.
Applying the Paint for Lasting Protection
Techniques for Optimal Application
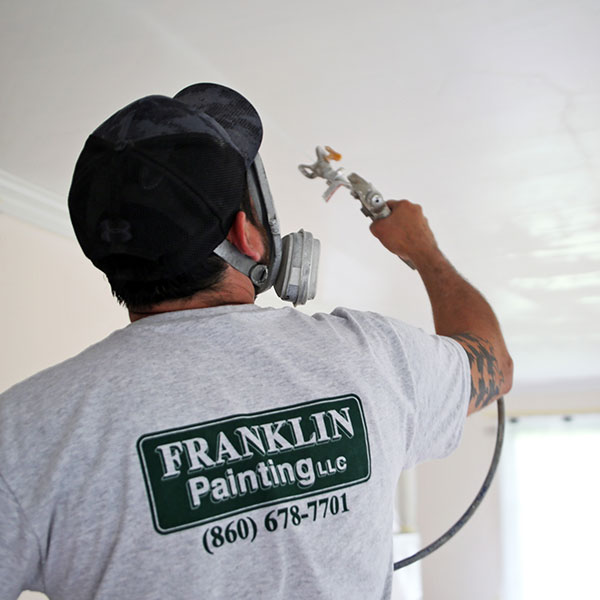
Once your surface is properly prepared, you can begin painting. Use a high-quality brush or roller designed for the type of paint you’ve chosen. Apply thin, even coats, allowing each coat to dry completely before applying the next. Over-application can lead to cracking and peeling, undoing your hard work. Follow the manufacturer’s instructions on drying time. In high-humidity conditions, drying times may be longer. Consider using a paint with good ventilation to ensure proper curing and drying. In particularly challenging areas, such as areas prone to splashing or direct water contact, apply additional coats. For instance, around shower areas, multiple coats of a moisture-resistant paint offer a protective barrier against constant exposure. Also remember proper ventilation in bathrooms and kitchens can significantly reduce the buildup of humidity. This combined approach of selecting the right paint and ensuring sufficient ventilation will maximize paint performance in humid environments. Pay close attention to edges, corners, and other areas where moisture can accumulate. These often-overlooked areas are frequently the first to show signs of moisture damage.
Choosing the Right Paint for Specific Areas
Bathrooms
Bathrooms are notorious for high humidity and moisture. select a paint specifically labeled as mildew-resistant and mold-resistant. A semi-gloss or gloss finish is preferable as it is easier to clean and more resistant to moisture.
Kitchens
Kitchens are prone to grease and spills. select a paint that is easy to clean and durable. A satin or semi-gloss finish is a good choice.
Basements
Basements are often damp and prone to mold and mildew. select a paint designed to resist moisture and prevent mold growth. A primer formulated for damp areas is highly recommended.
Choosing the right paint for moisture-prone areas is crucial for long-lasting outcomes. By considering factors like the type of paint, its mildew resistance, and proper surface preparation, you can ensure your paint stands up to moisture and prevents damage. Remember to always follow the manufacturer’s instructions for optimal outcomes. Invest time in selecting the right paint; it will save you money and headaches in the long run. Don’t hesitate to consult a paint professional for personalized advice on selecting paint that stands up to moisture for your specific project.